Ever wondered why there’s always a few less ducklings every time you wander past your local pond? Well, I did; so I designed a fly to catch the culprits! In this article I will show you step by step, how to make a duckling fly.
Firstly, let me apologise for both the photos and the tying. i’m not a professional at either!
Hook: size 2/0 or bigger. Preferably wide gape
Thread: strong, black. This is an Orvis saltwater thread
Legs: zonker strip. Pick a colour you like or one that matches your local “hatch”
Back: brown foam. From craft store will do. About 3mm thick?
Body: yellow deer hair white deer hair
A bit of preparation: cut two lengths of zonker and a piece of foam. I use a fancy foam cutter ‘cos I make lots of nasty flies, but a strip about 1cm or a bit more in width will do fine

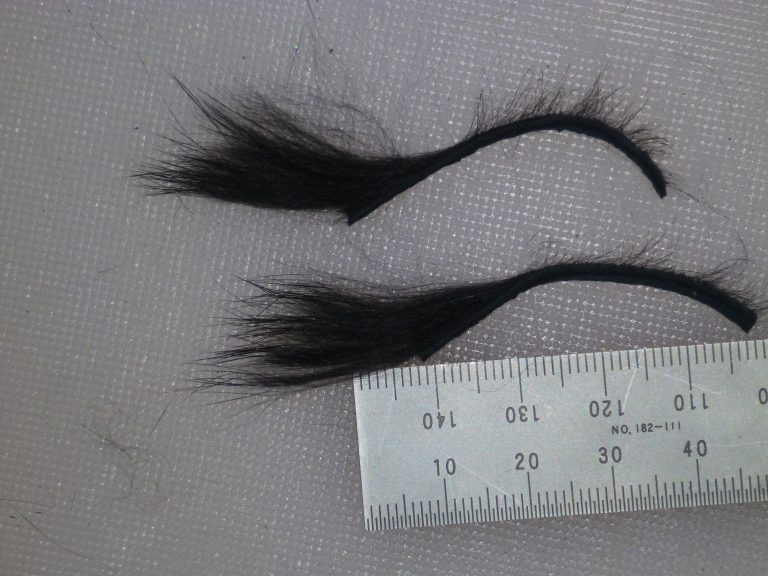
Note that there’s a right way and a wrong way with the zonker. Tear off all but the last cm of hair from each strip. The bit that’s left needs to have the hair flowing away from the end of the strip. Easier to see than describe. If you use a scalpel or scissor blade to scrape the remaining hair from the strip you’ll find it curls in such a way as to flare away from the hook once tied in These are your legs prepared:
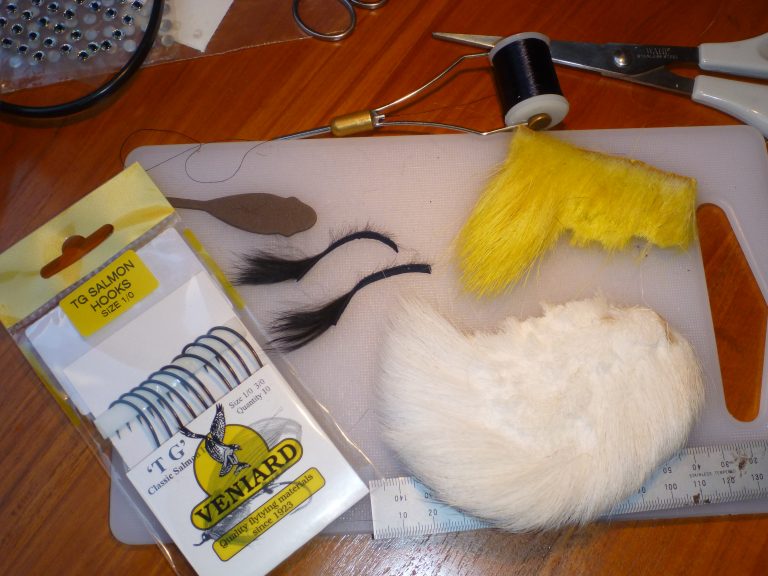
So now here’s all the materials assembled:
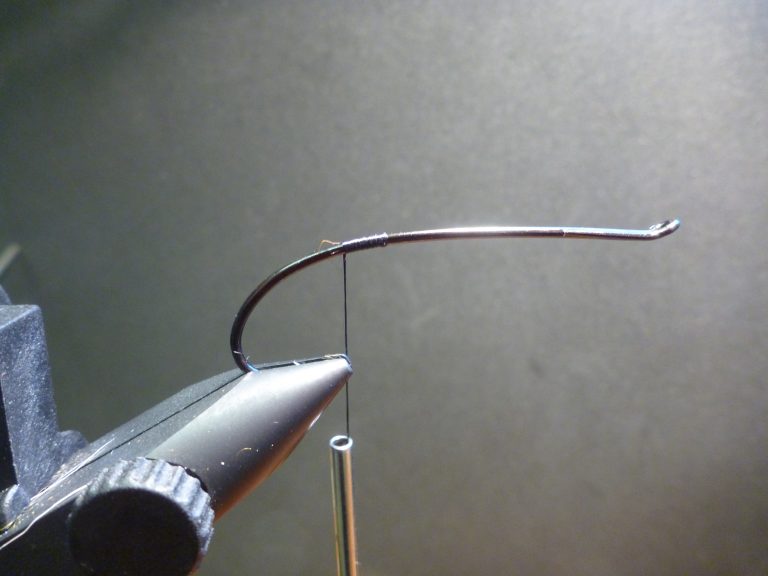
Attach the thread at the rear of the hook. This is important as you don’t want thread on the hook shank; it will make spinning the deer hair very difficult. Note also the relationship of the attached thread to the bend of the hook.
Attach the first leg on the side of the hook, ensuring the remaining hair (the foot) is pointing outwards. Attach the second one to the other side
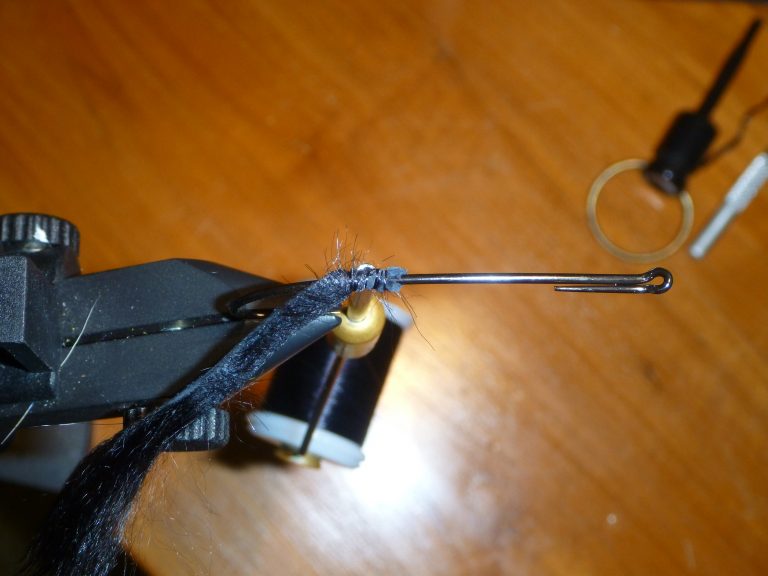
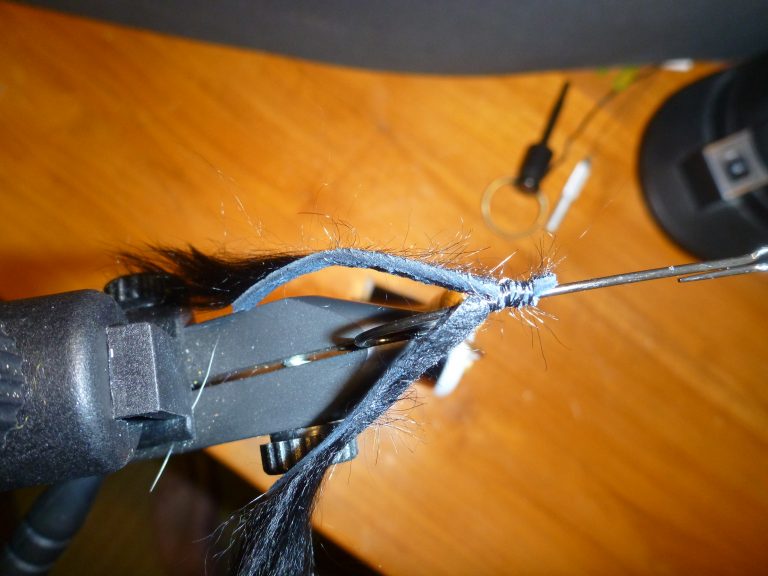
Attach the foam with a couple of loose wraps as shown. Measure it up first to make sure it will fold forwards to the right place once the body has been formed. If you do the first few wraps too tight you’ll cut the foam. Once you’re happy with the position you can tie it in more securely. Make sure you take the final wraps back to where the rearmost wraps are for the legs
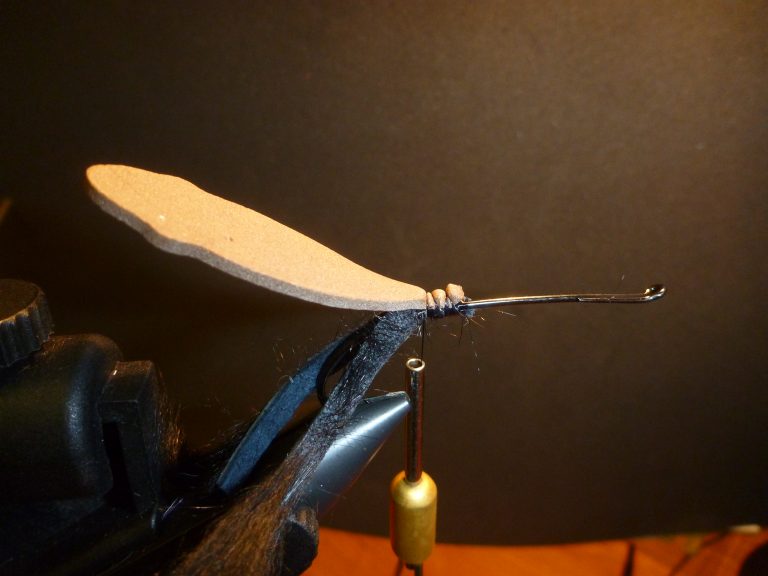
Now comes the fun bit. Take a clump of the yellow deer hair and tie on the shank with a couple of very loose wraps. Pulling down hard causes the hair to spin around the shank. If you’re lucky… this yellow stuff is quite stubborn but I got there eventually. I’m sure expert tyers out there will explain this
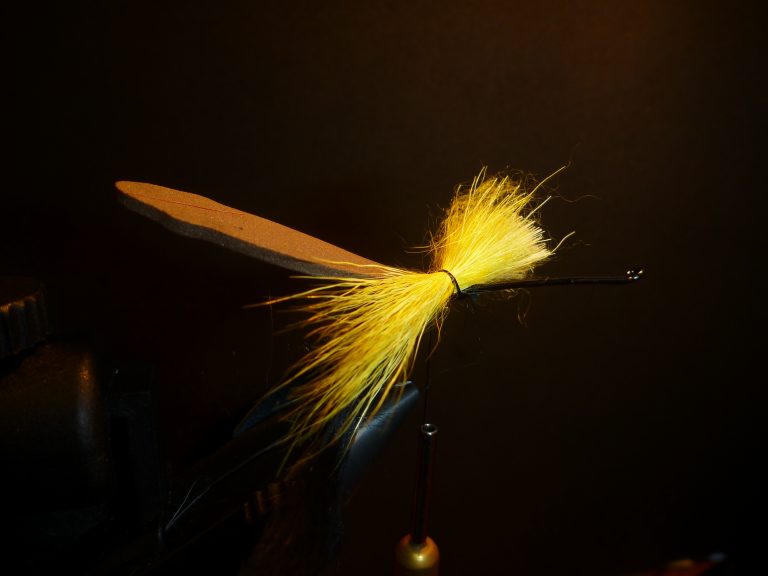
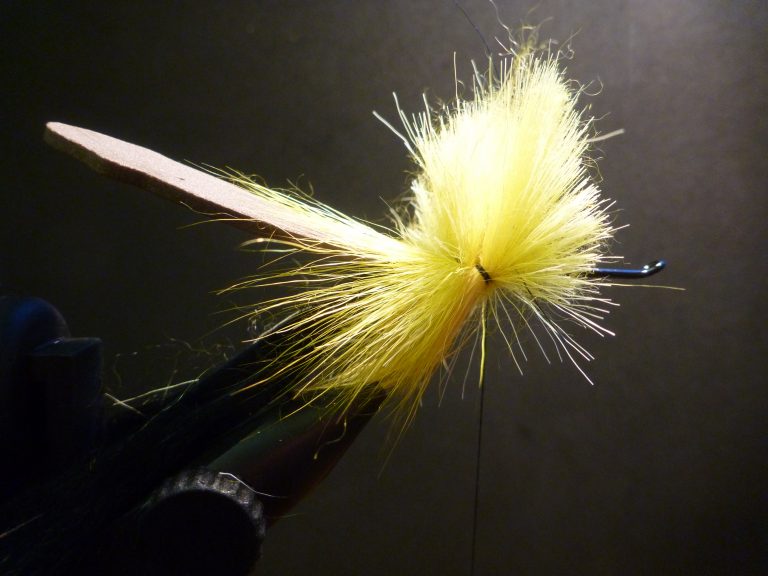
Being a bit scruffy doesn’t matter; in fact it’s a definite plus. Push the spun clump hard to the back of the hook, so it obscures the tie-in wraps for the legs and back, then make a couple of wraps in front of the clump to secure it. Another clump of yellow follows; push it back as before. Now add in a clump of white. The white stuff is belly hair and is a lot easier to work with
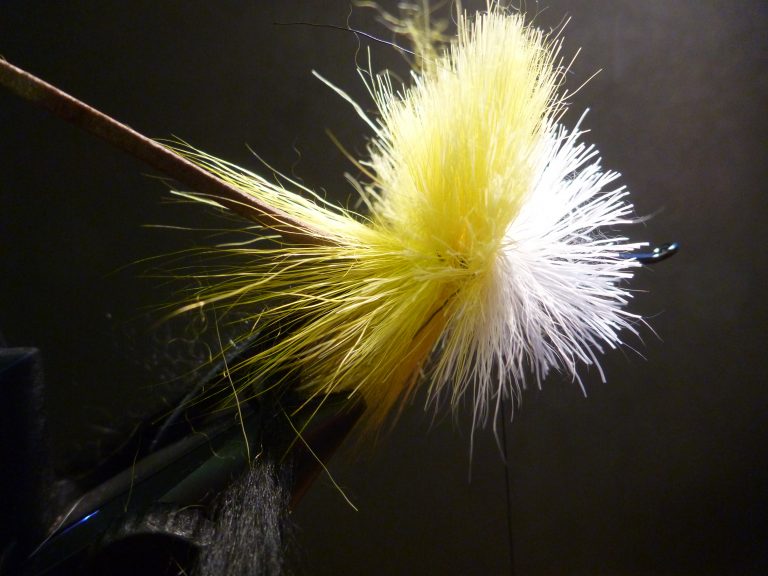
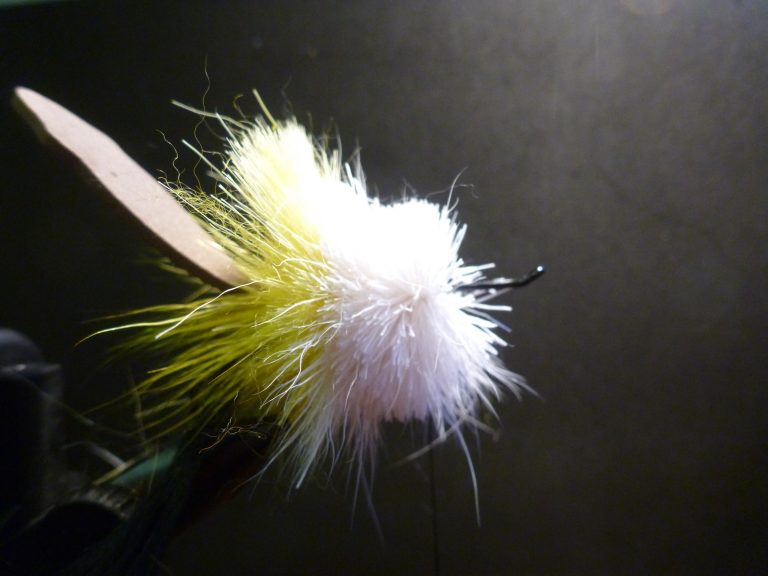
Now you can see it’s really beginning to take shape. About 3 or 4 more clumps of white completes the spun body, then it’s time to bring the foam back over towards the eye and secure it with a couple of wraps just in front of the spun hair. The protruding foam creates a concave popper effect. I put a blob of super-glue or similar just under the foam to secure it before completing the fly with a standard whip finish and a dab of varnish
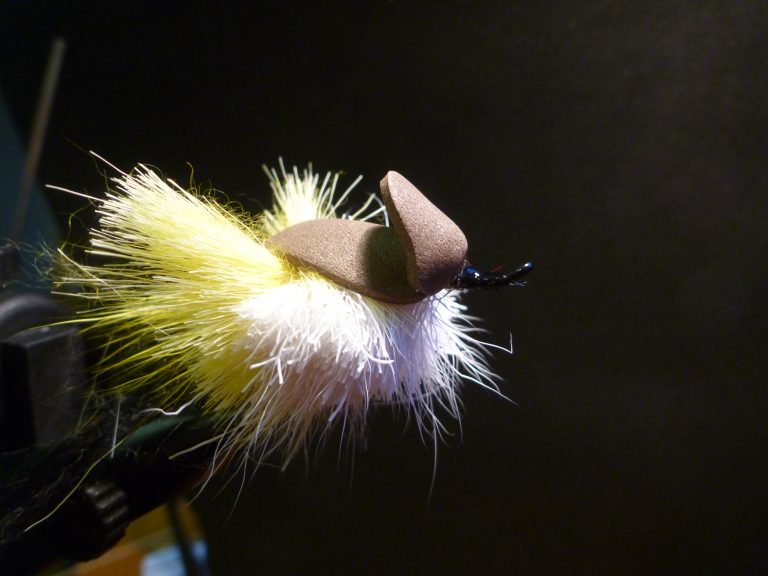
Since i’d gone for a mallard duckling look I decided to add in a bit of black to the belly with a marker pen
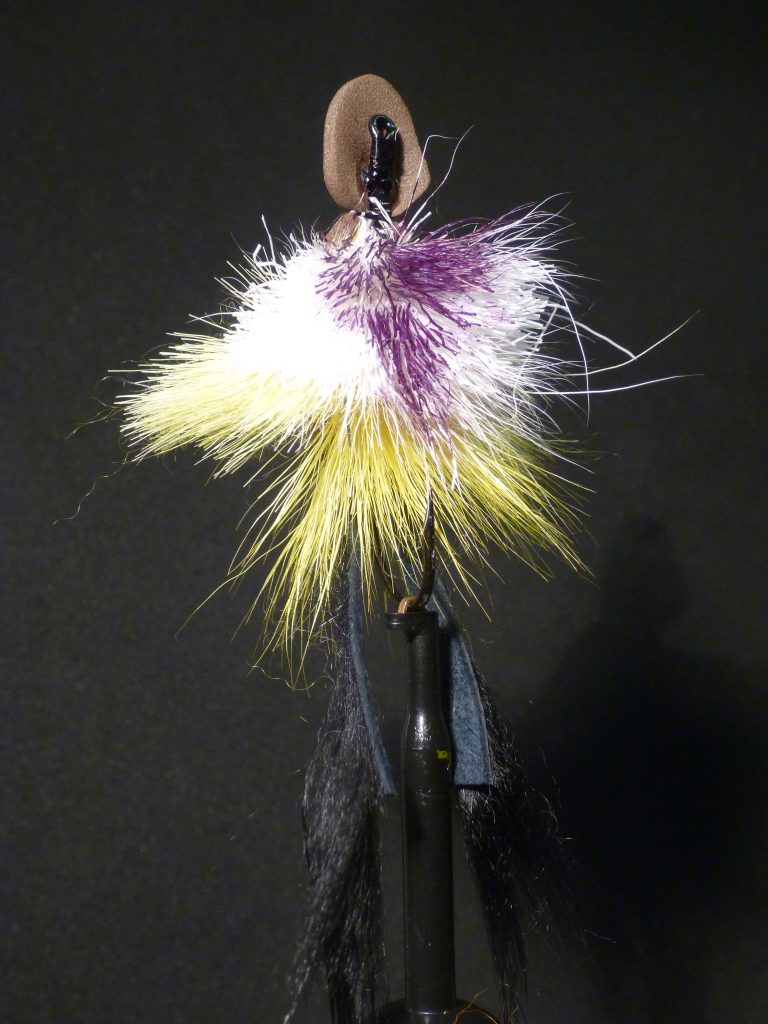
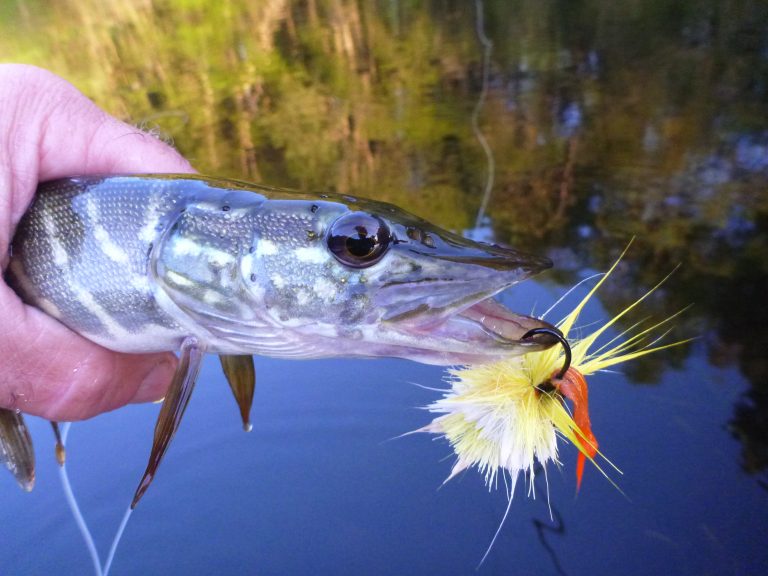
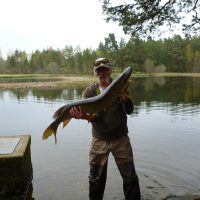
There’s nothing pretty about this fly; it’s designed with one purpose in mind and that’s catching pike! Cast near to a reed bed & hang on tight…..
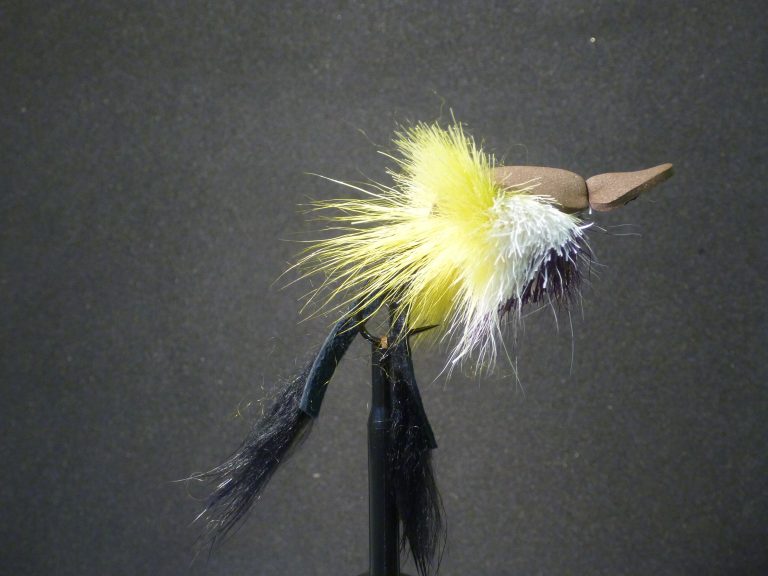
This fly is essentially a Morrish Mouse, with two tails. So cheers to Ken Morrish for the original pattern and my local pike for the inspiration!
Connoisseurs of the art may find this a handy reference:
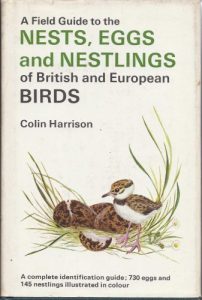
ps I take no responsibility for the battering you may receive at the hands of your local RSPB representatives….
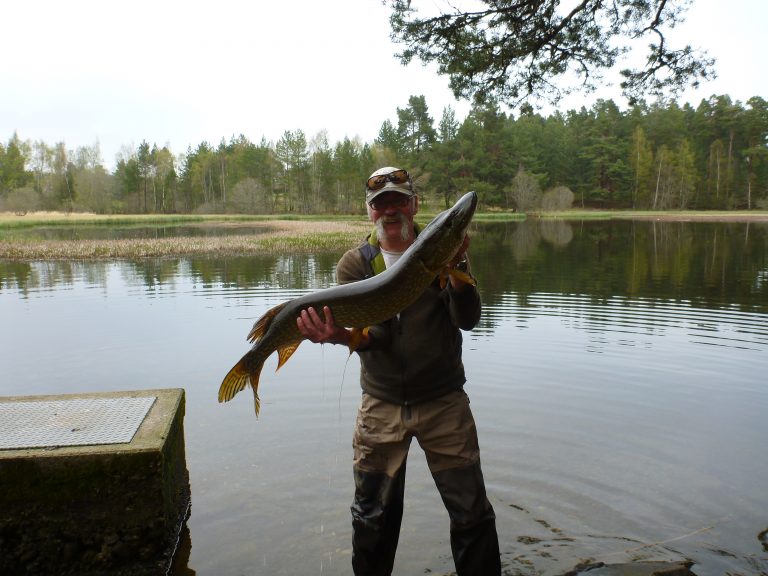
And in case you’re wondering; Yes, it does work!
