Over the winter period my beach casting rod has been used and abused. As a result some of the rings have become damaged or broken. I decided that the rod needed a thorough overhaul and replace all the rings completely.
I shopped around for some prices to have the rings professionally repaired and was shocked by some of the quotes I received. Some places wanted £40 to do the job! Now I have no doubt it may well have a very nice finish but my poor workhorse of a rod is not even worth £40 pounds. With this in mind I decided to do the job myself! As this was an old rod I wasn’t too concerned if the outcome was not on a par with a professional workshop finish.
I searched online and foud a set of minima model BT3XG rings for £19 (all in) on line and I already had some whipping cord from a repair I had done earlier in the year.
With all the components ready I will illustrate how I went about doing this project. Though I may have cut a few corners as I went!!
1. Broken rod rings
2. Before I started removing any rings or cutting bits off the rod I took measurements of all the spaces between the eyes. So that once I had removed all the rings .I would know exactly the position for the new rings.
3. Using a lighter I gently heated the tip ring until the glue became fluid as it heated up. When it started fizzing I removed the heat. Using pliers I gently twisted the tip ring off. I repeated the same heating process to the varnish on the rest of the rings removing the whipping cord with a sharp blade.
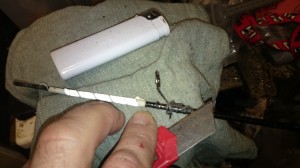
4. With the rings removed I used light emery to remove the last of the hard glue and varnish.
5.The feet of rings have left a sort of footprint on the rod .Using this will help me keep the eyes aligned all along the length of the rod. As well as the written dimensions for the eye spacings.
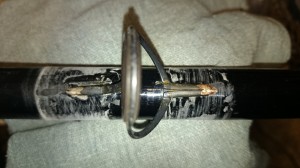
6. After measuring the position of the ring on the rod I held it in place with tape on one leg of the rig. The other leg I held tight to the rod with electrical tape. In doing so trapped the whipping thread in place ready to start the whipping process over the top of the tape. This gives the whipping a good bed to lay on.
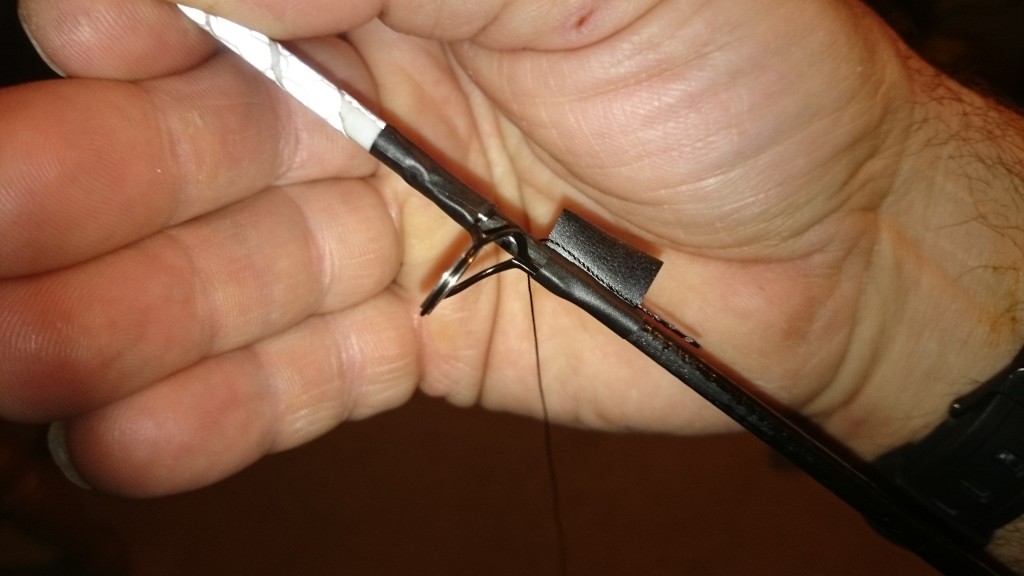
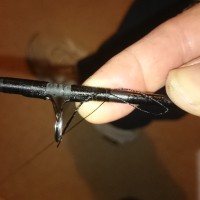
7.The whipping process is done by gently turning the rod whilst holding the cord taught.

8.When the whipping is finished a little trick to tie up the loose tag end is to whip in a little Loop of cord and pull the loose tag end back under the finished whipping.
9.When the whipping was finished both sides I used the back of a blunt knife to smooth down The coils of cord.
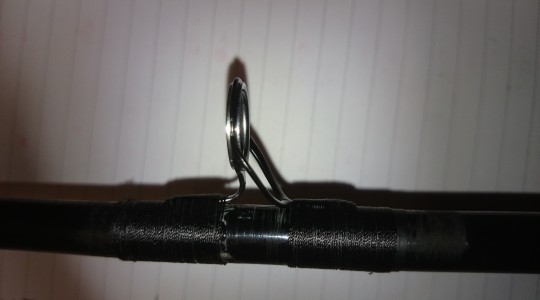
10.When I was happy all the ring were fairly in line and straight on the rod I was able To varnish the whipping I had completed. This would also seal the rings in place.
11.To varnish the rings I cheated a little and used nail varnish. Cheap and easy to replace it was good alternative to varnish or high build. Also available in several snazzy colours.
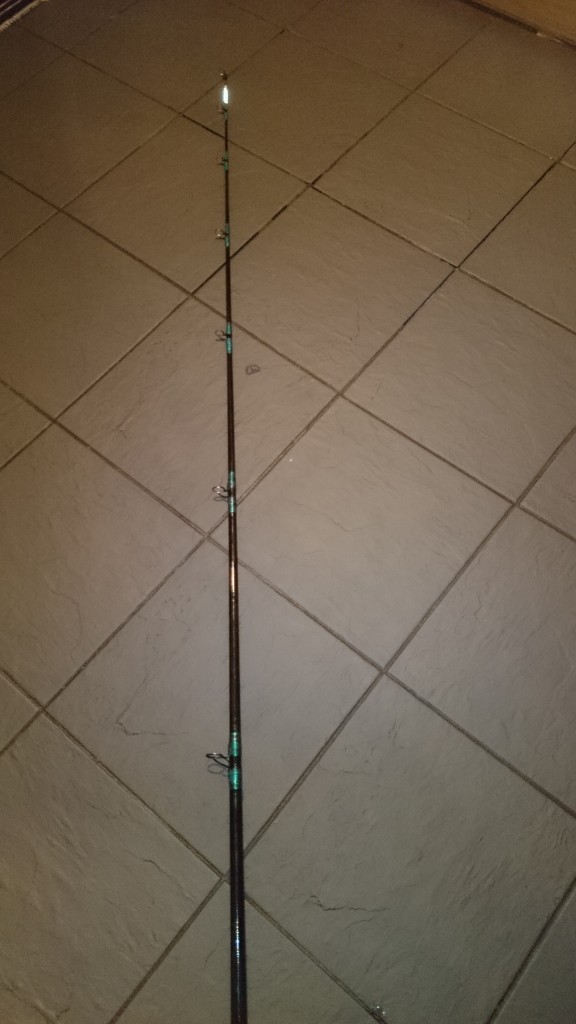
12.The finished rod .Unfortunately the camera cant pick up the detail but I think the turquoise finish complements the dark rod well!





Great read, Sean. I have just refurbished a 10 yr old beach caster of mine. I only bother with the top half as the other rings were OK. I stripped the paint off mine. I used white gloss paint on the tip. It didn’t take as well as car spray paint on the rest, but all lacquered its OK. New life breathed into it so im happy. I really like the nail varnish idea.
I would love to take the credit, but Leo wrote this article. When it comes to maintaining my gear, I either leave it for the rain to wash, or pay for an expert to repair it. Bad I know!
Great read. I’ve a couple of very old and very poor condition rods in the garage. May be tempted to have a go while I await the arrival of the bass.